01
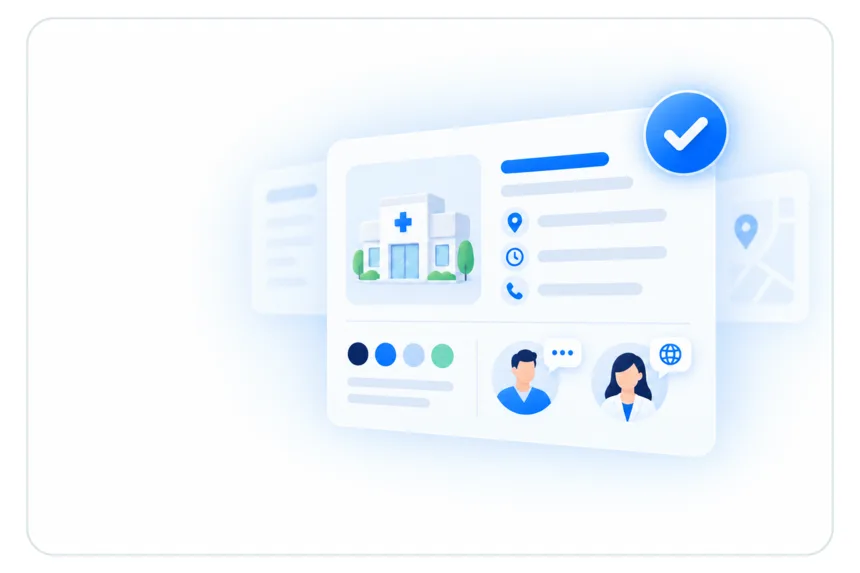
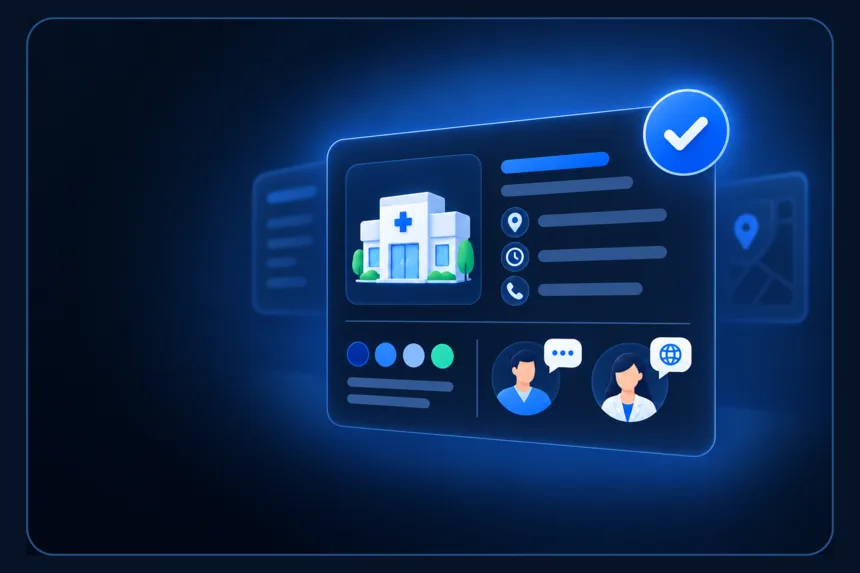
Confirm the practice
Check the clinic name, specialty, hours, contact details, branding and staff languages.

Getting started with LogBlues
Start with the short first-time setup, then use the Launch Checklist on the Dashboard to fit services, people, policies, forms, billing and security to the practice you actually run.
First, the essentials
Sign in, enter practice details and type of care, choose tools and dashboard cards, invite your team, bring records if ready, link the clinic to your account on Your plan, and review. You can schedule patients and work normally before every longer-term decision is complete.
The Dashboard then keeps the Launch Checklist near the top for Owners and Administrators. It is the deliberate second pass: twelve areas, saved progress, and no requirement to finish everything in one sitting.
The visual guide
Each step below is illustrated, and each checklist item opens the part of the product that controls that decision.
Check the clinic name, specialty, hours, contact details, branding and staff languages.
Export a .ics file from Google Calendar, Outlook or Apple Calendar, then use Import calendar on the Schedule. You see a preview first, and names that match a patient record are linked before anything is written.
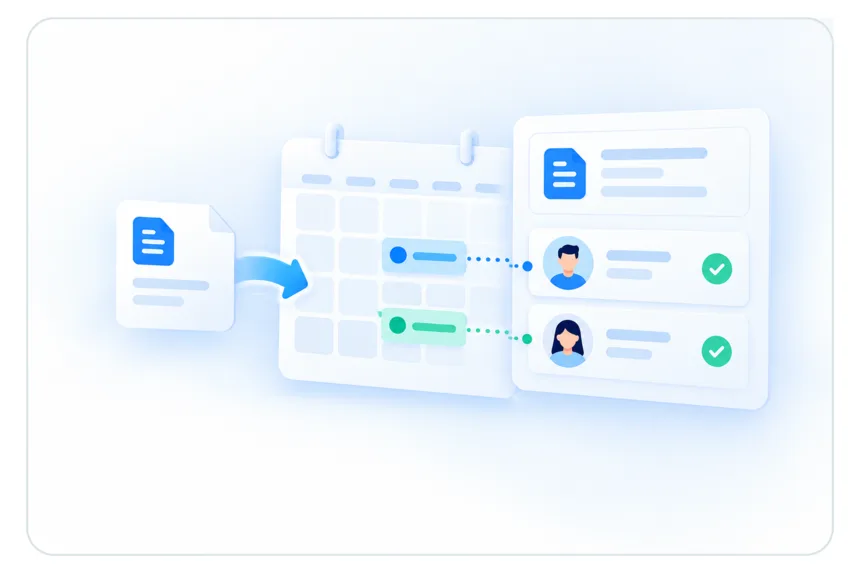
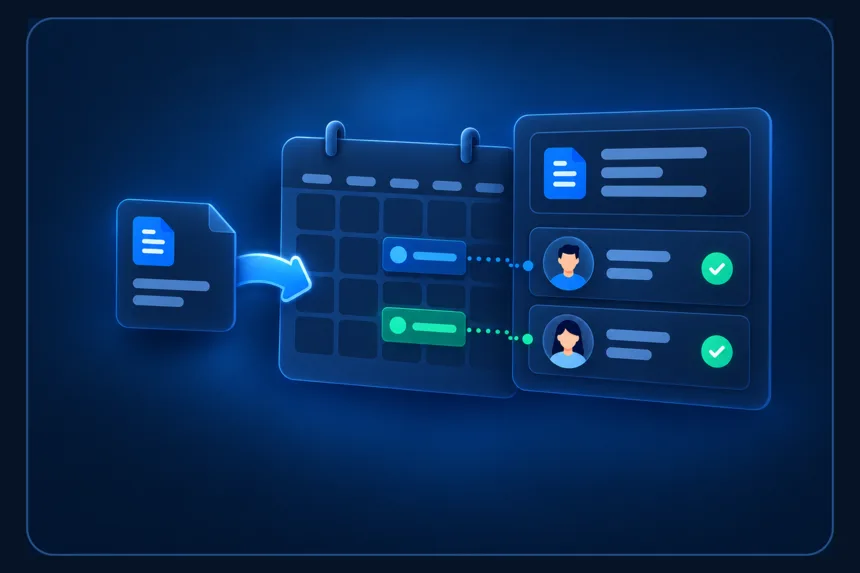
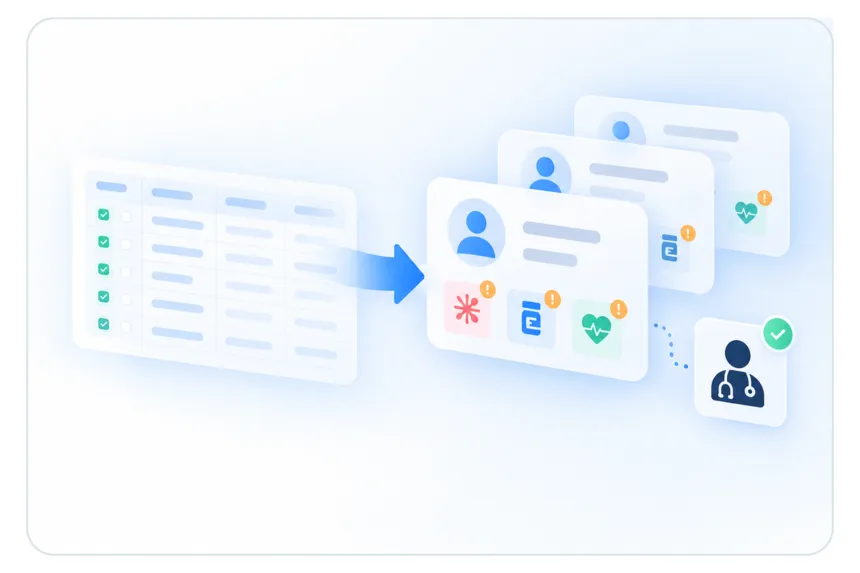
Download the example spreadsheet from Import patients, fill it in or export from your current system, and check the preview. Allergies, medications and conditions stay marked Not yet reviewed until a provider confirms them.
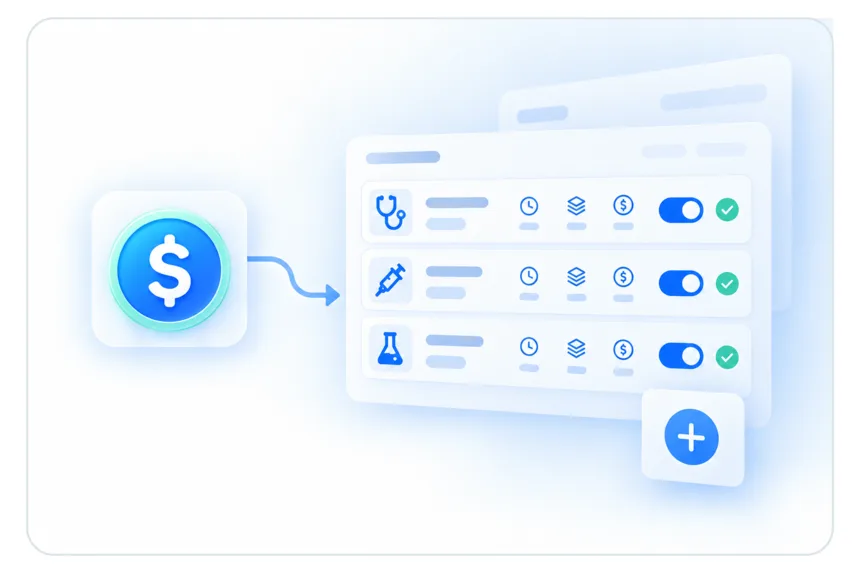
Review what the practice provides, then confirm the code, duration, units and price for each active service.
Add staff, assign the correct role and verify which parts of the workspace each person can open.
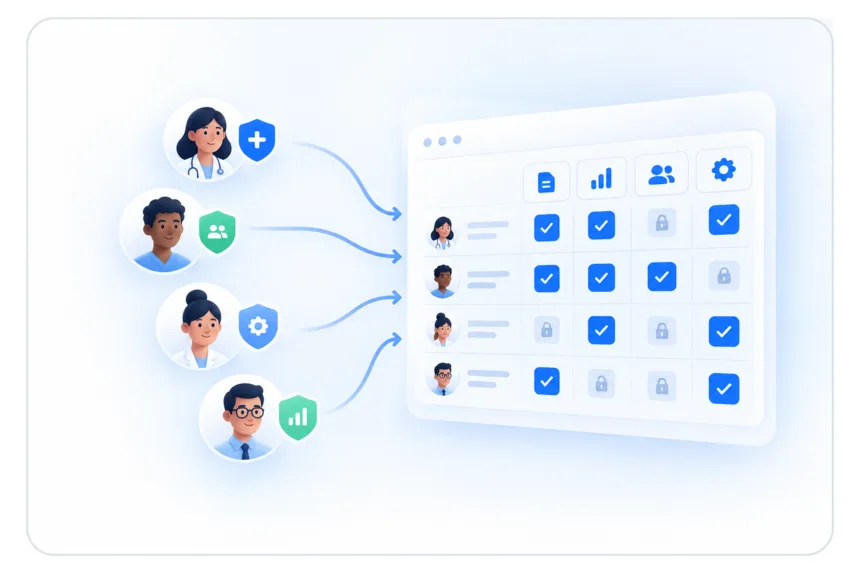
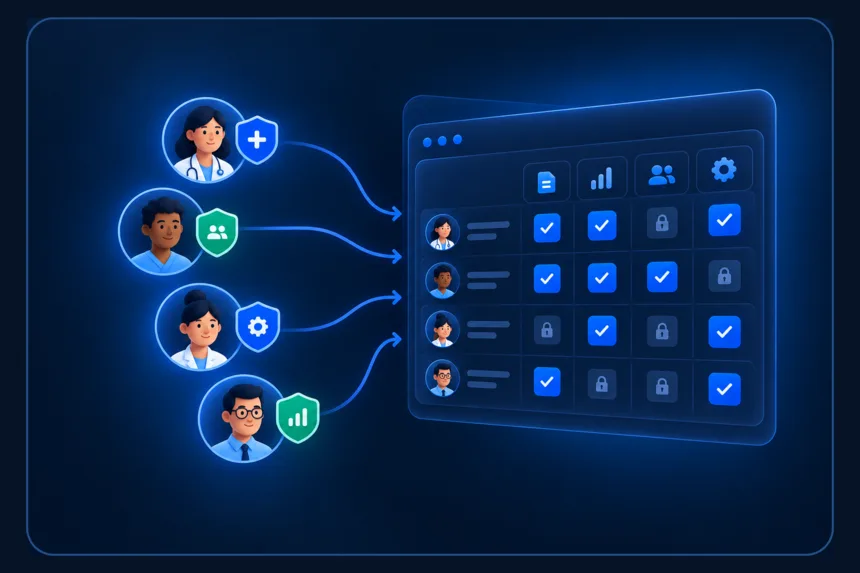
Keep clinical and operating procedures where the team can find the current version and record completed checks.
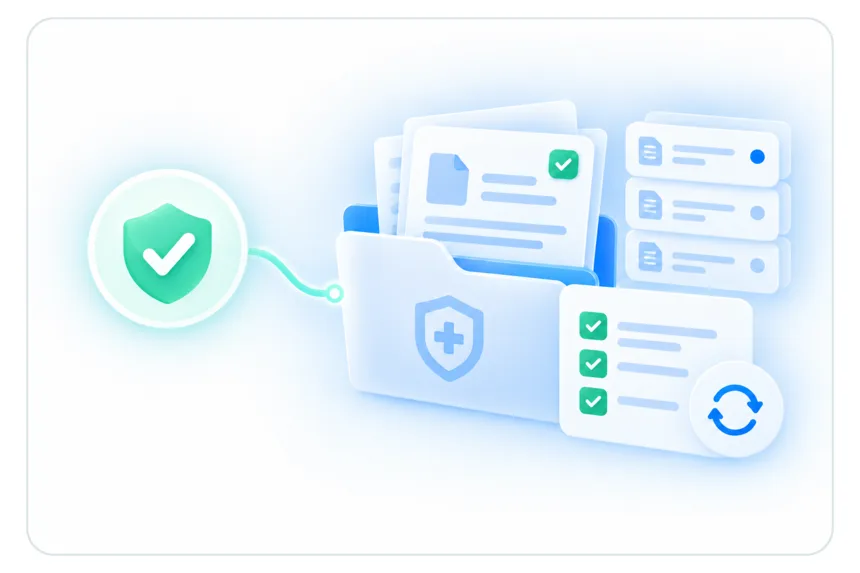
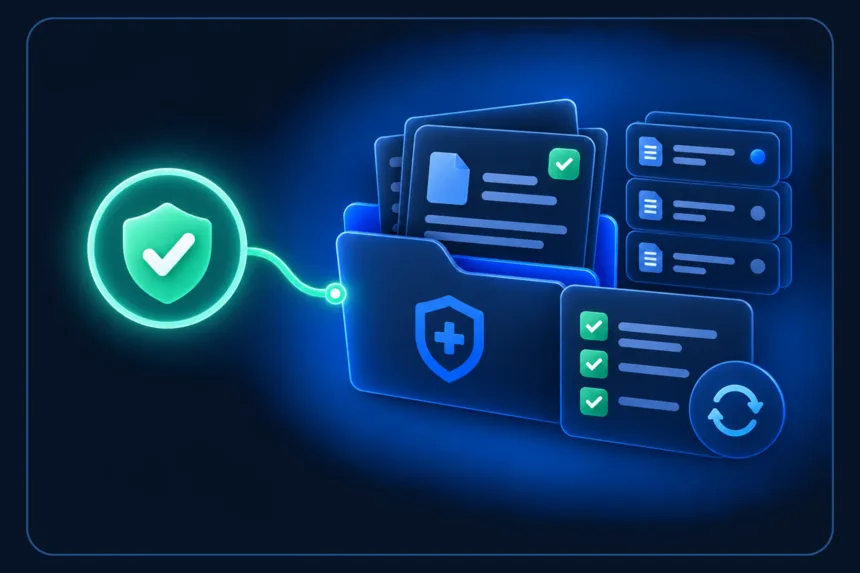
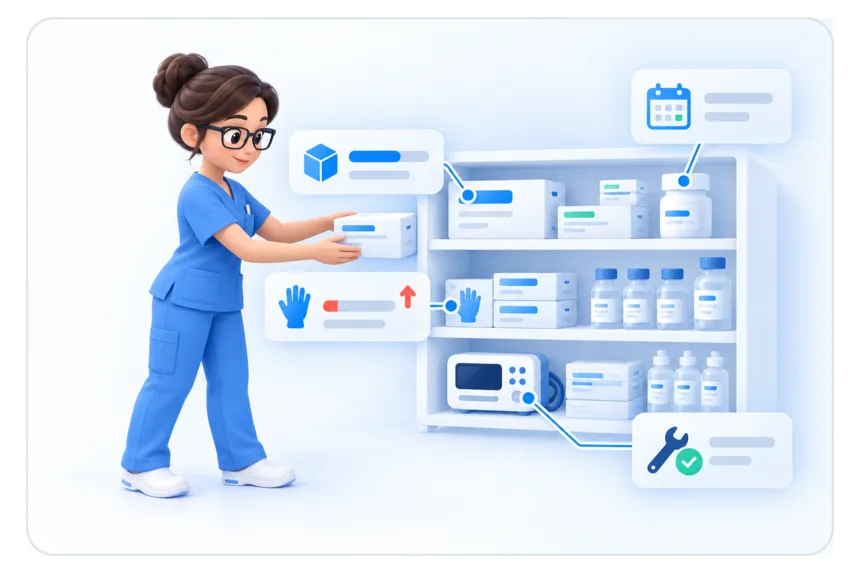
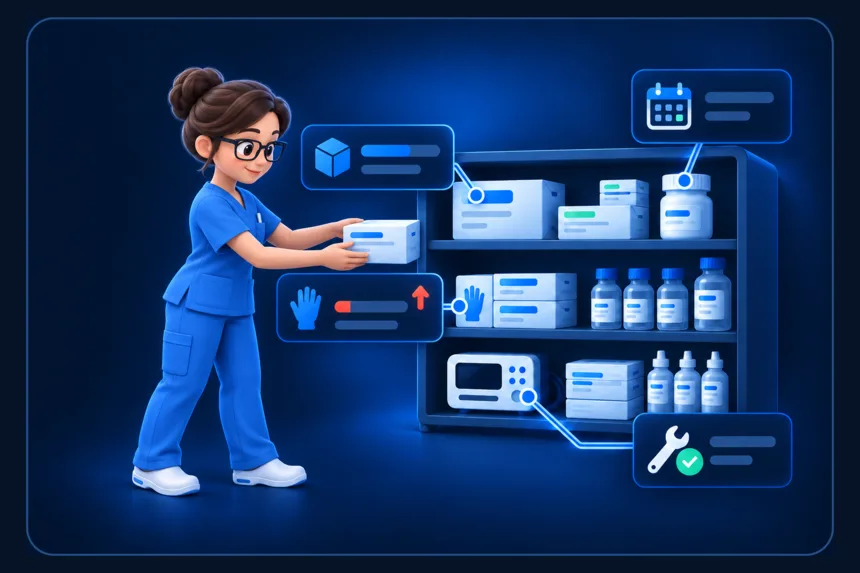
Add supplies, reorder levels, expiration dates, equipment and maintenance so the system reflects the clinic.
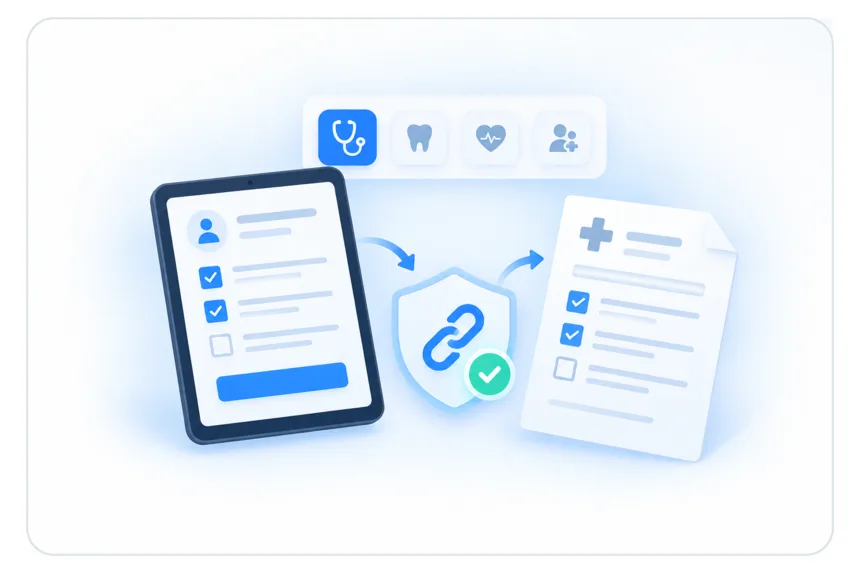
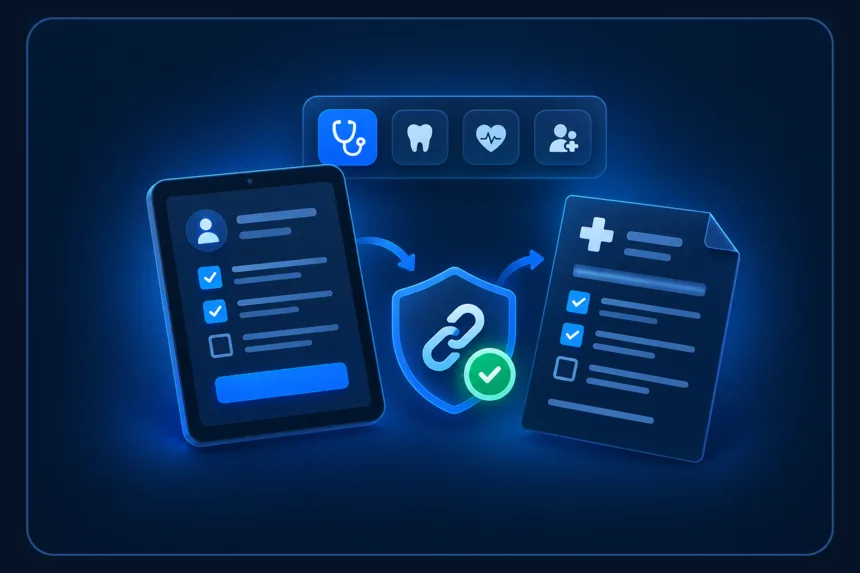
Choose the forms your specialty needs and decide whether patients complete them by secure link or on paper.
Keep the operational and financial views the owner needs and restrict private numbers to the right roles.


Set folders and review priorities for documents, scans, lab results and images the practice receives.
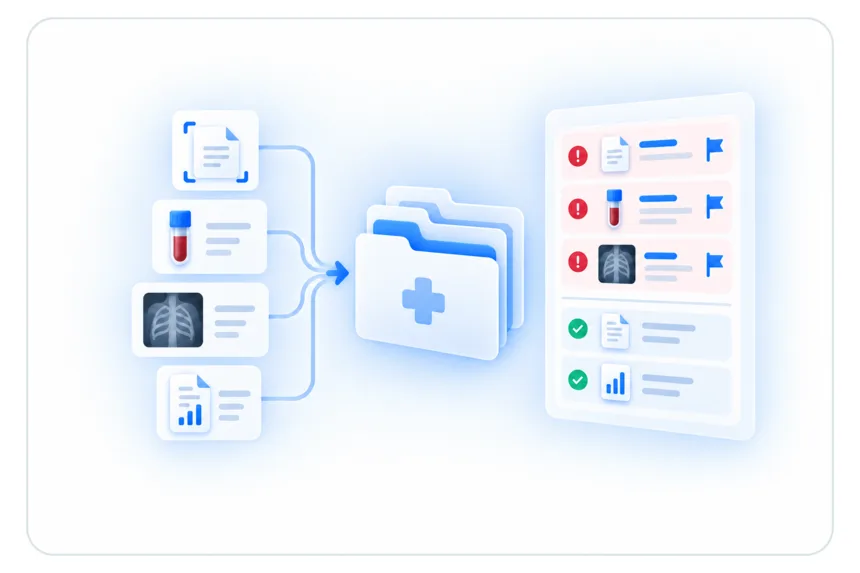
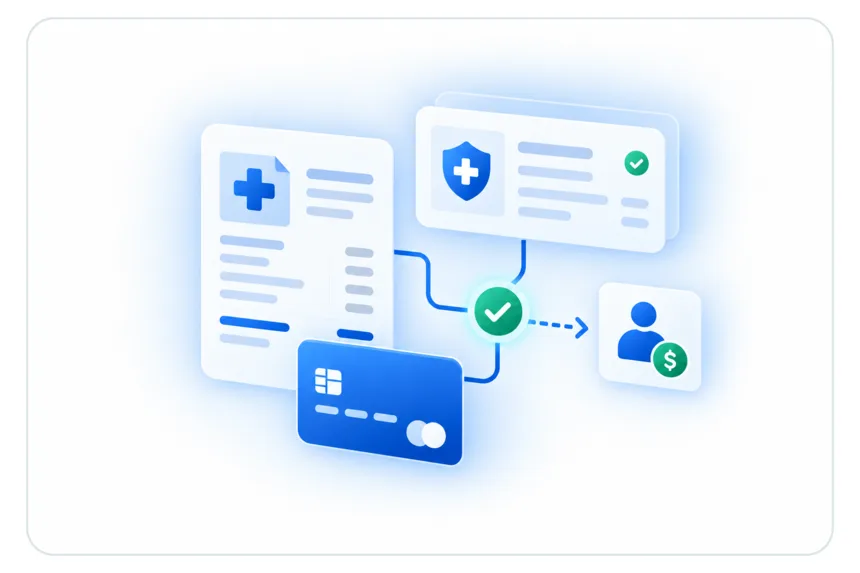
Confirm the information used on invoices and insurance files before the first patient is charged.
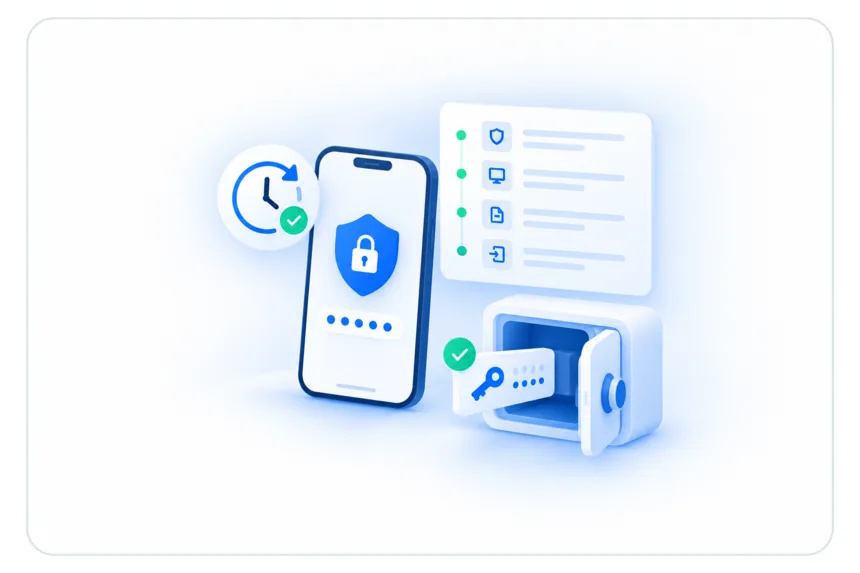
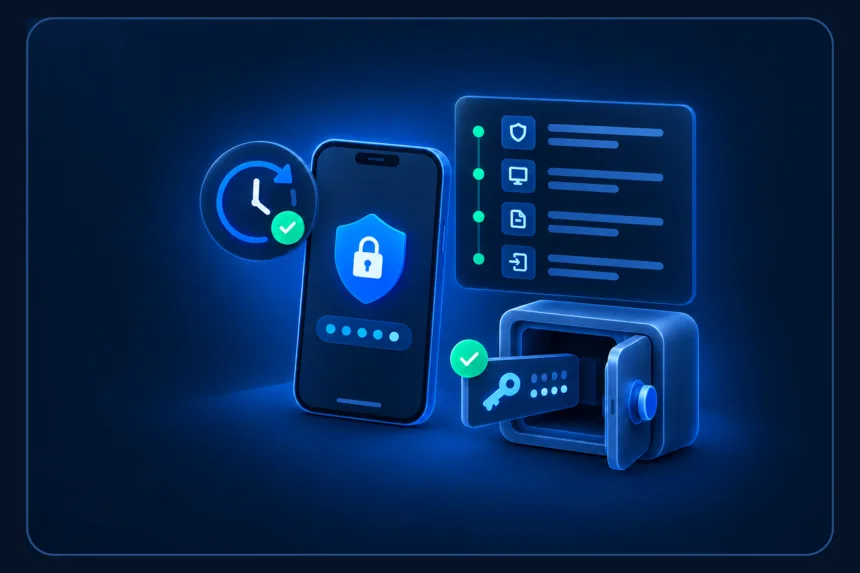
Turn on MFA, review automatic locking and audit access, then create and safely store the recovery material.
Your first working day
Use Scheduling and confirm the provider and service.
Send a secure intake link from Patient check-in or use the paper workflow.
After arrival is recorded, the nurse or MA opens Nurse rooming, records vitals and reviews allergies. Save the nursing work and confirm Ready for doctor.
The assigned provider opens the same patient and visit, reviews the saved nursing work, and documents care. Keep findings, notes, files and coding connected to that visit.
Confirm the invoice, payment or insurance work before anything leaves the practice.